1
Select transaction type
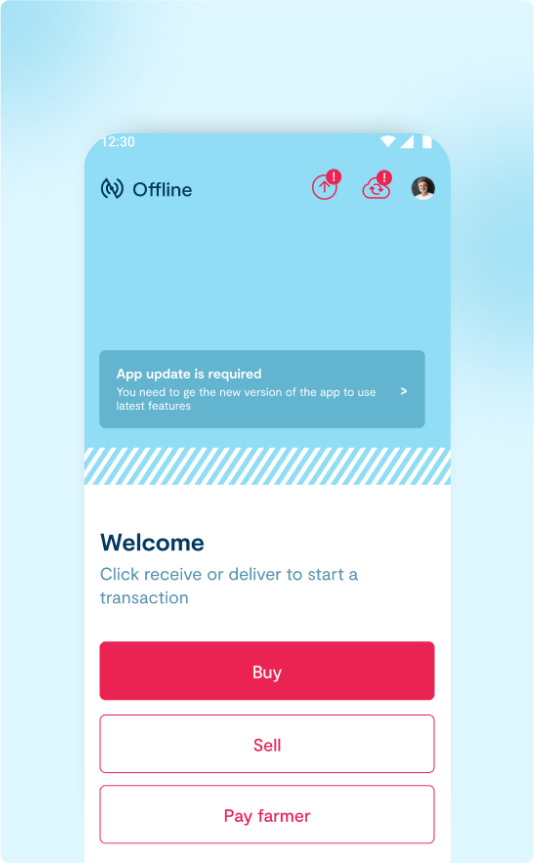
- When you click the Buy button, the app will ask if it can use your device’s location.
- You need to choose the option that says “Allow while using the app.”
- After you give permission, the app won’t ask for your location again next time you use it.
- After clicking Buy, you will go to the Choose Product page.
2
Choose product
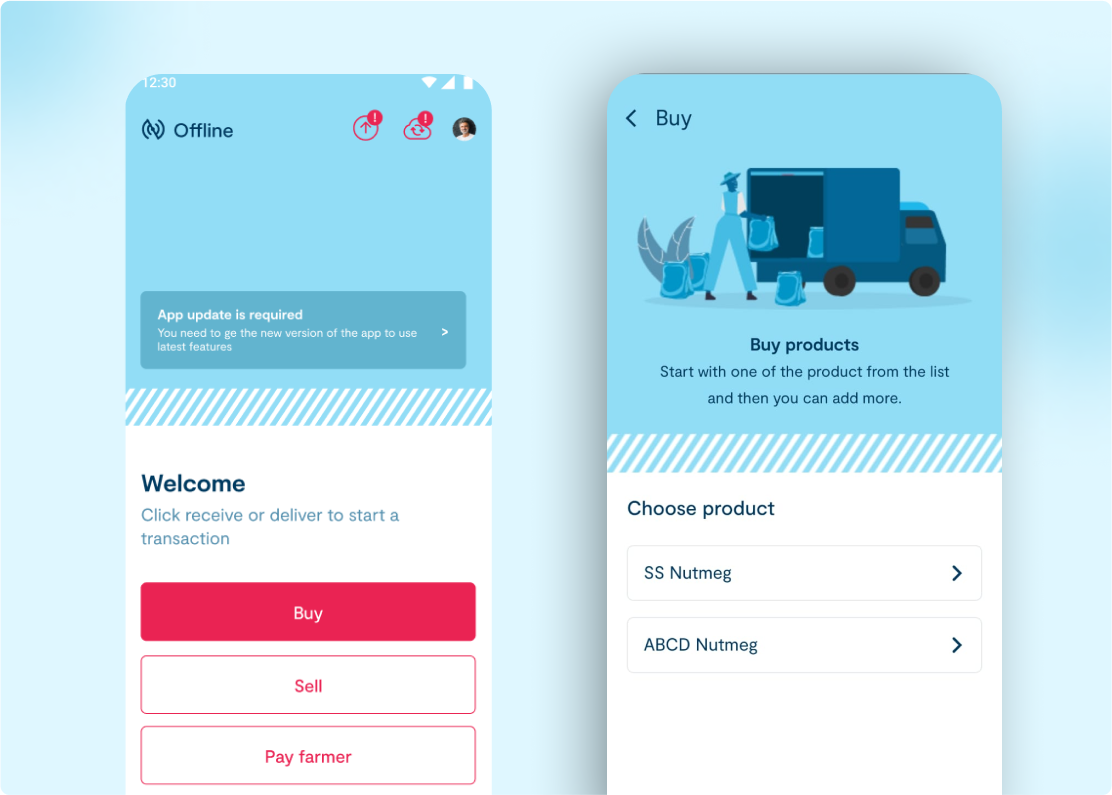
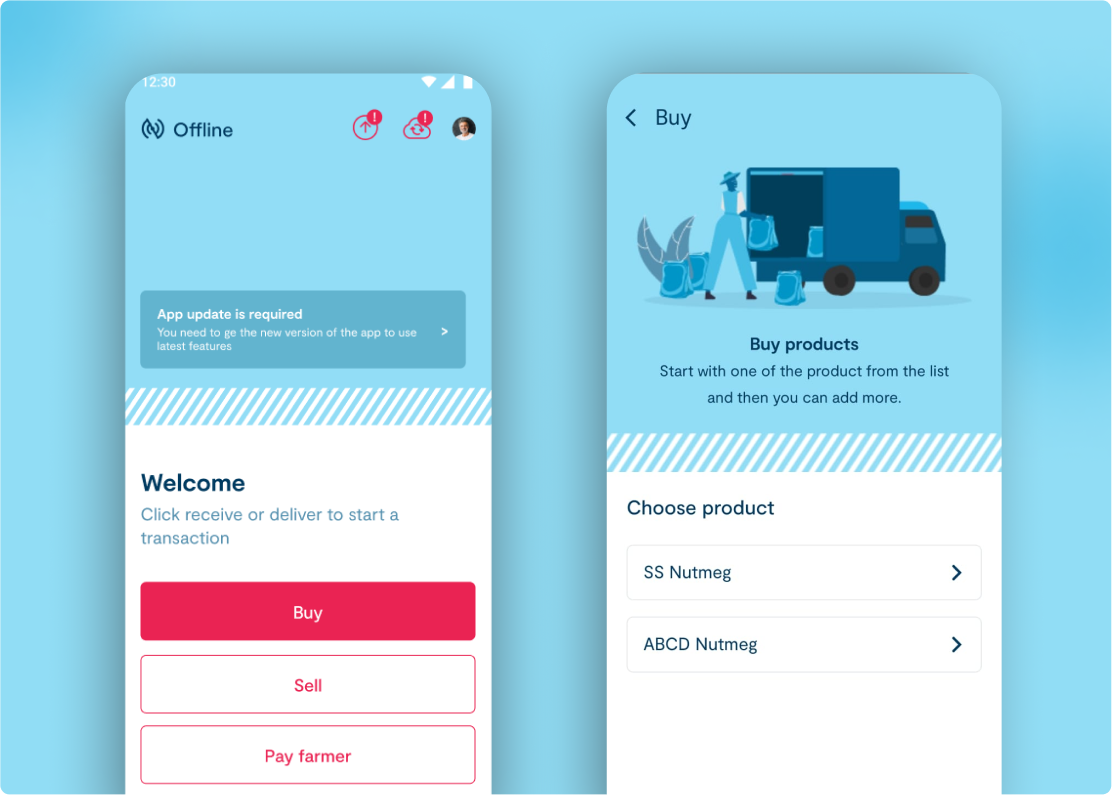
- When you click the Buy option, you will be taken to the Choose Product page.
- On this page, you can select one of the available products to purchase.
3
Add Quantity and Base price
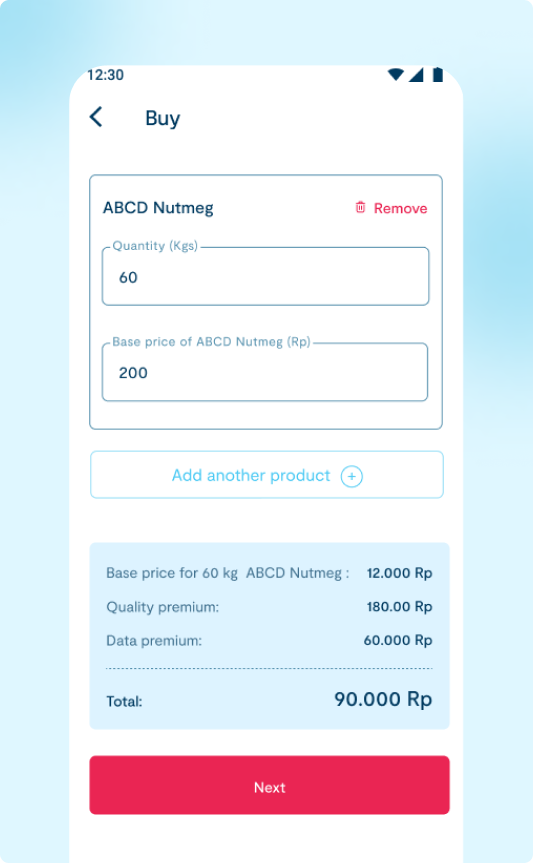
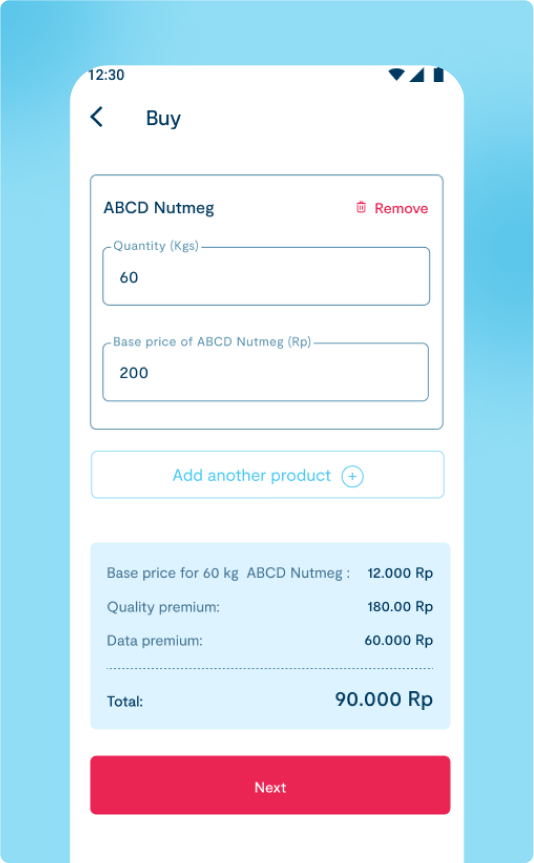
- Once you choose a product, you will go to the next page.
- On this page, you can type in how many items you want to buy (quantity) and the price of each item (base price).
4
Add another product
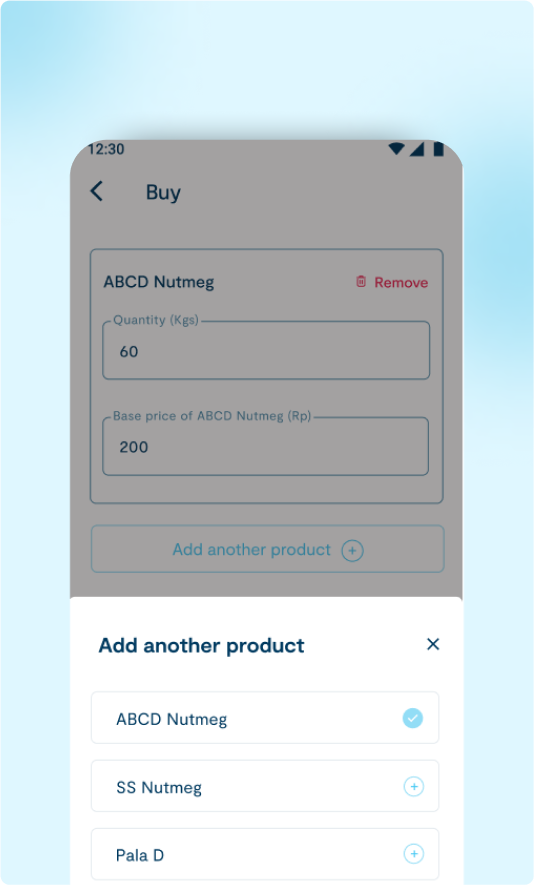
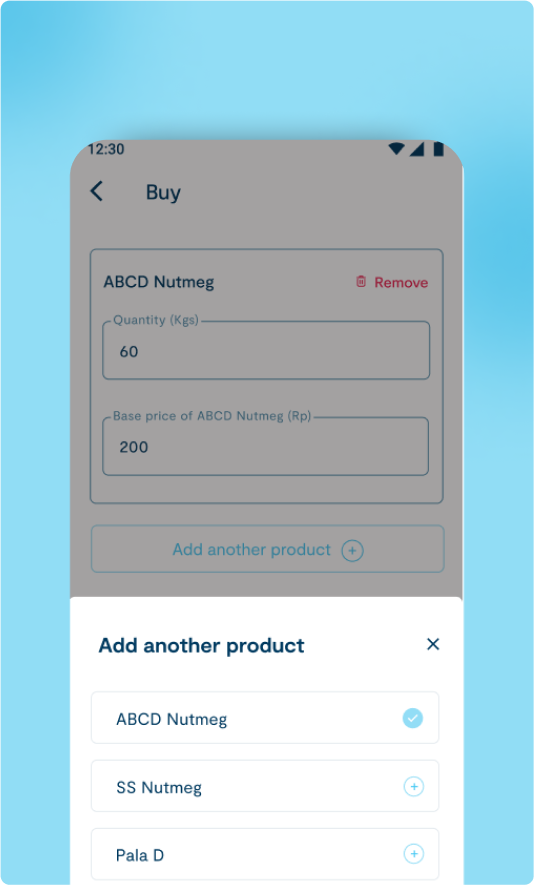
- On the same page, there will be an Add another product option to add more products.
- When you click Add another product, it will show a list of all products along with their status.
5
Product details
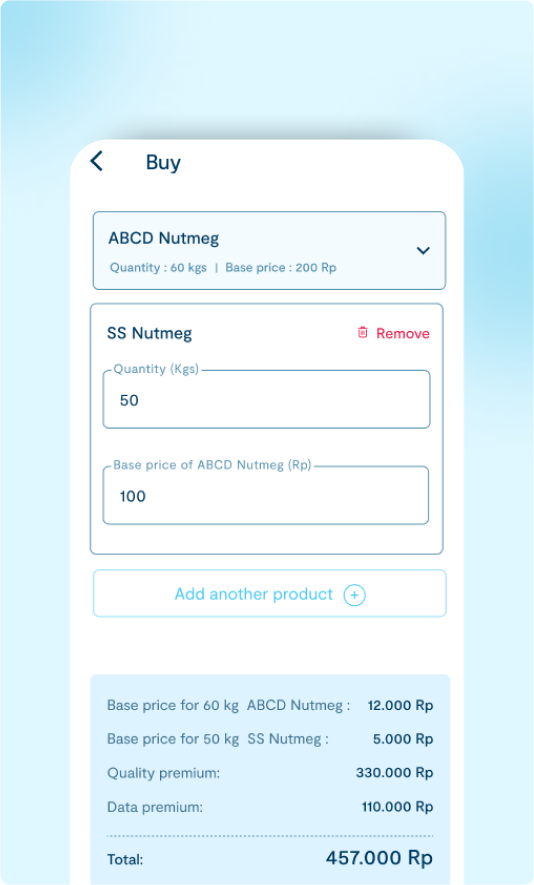
- When you click on each product, it will open up to show extra details like the Premium and the Price details.
6
Premium verification
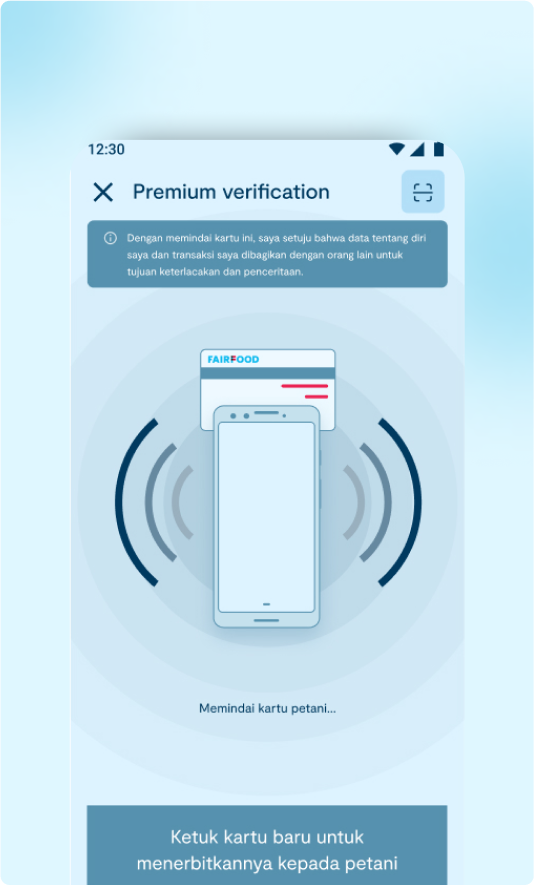
- On the Premium Verification page, you can scan either an NFC card or a QR code to share data and transactions for traceability and storytelling.
- There is also a text-to-voice feature that announces the transaction details. To enable this, you need to turn it on in the settings.
- If you don’t have an NFC card or QR code, you can select the No card option, where you can manually add a farmer and update the details.