Connections
The Connection Page shows information about the companies and farmers in the supply chain. You can find it in the main menu. The page has two tabs: one for companies and one for farmers. It also has a map view that shows where these actors are located and how they are connected.Connections - Company
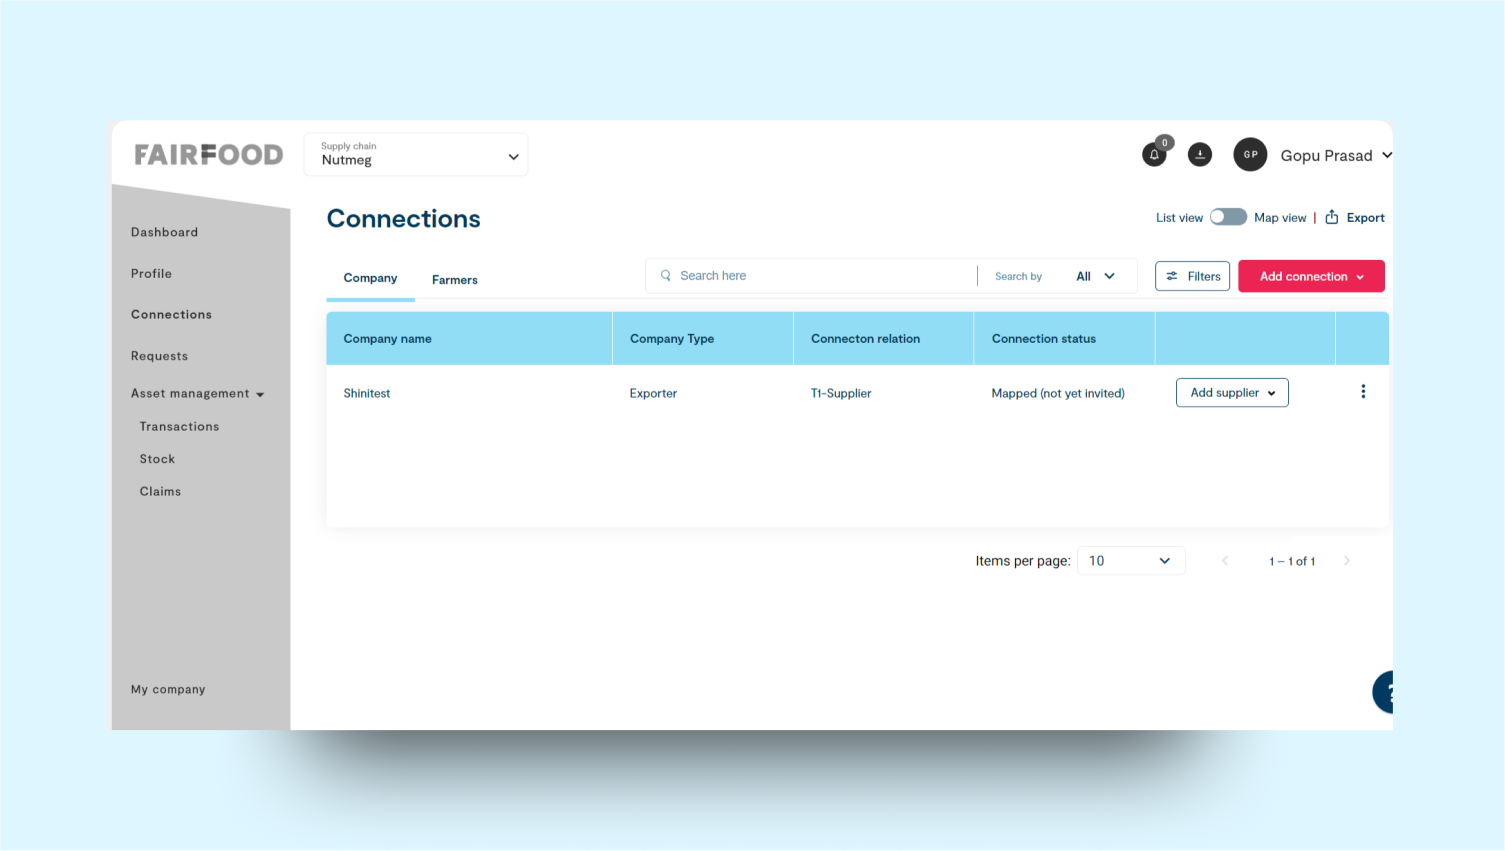
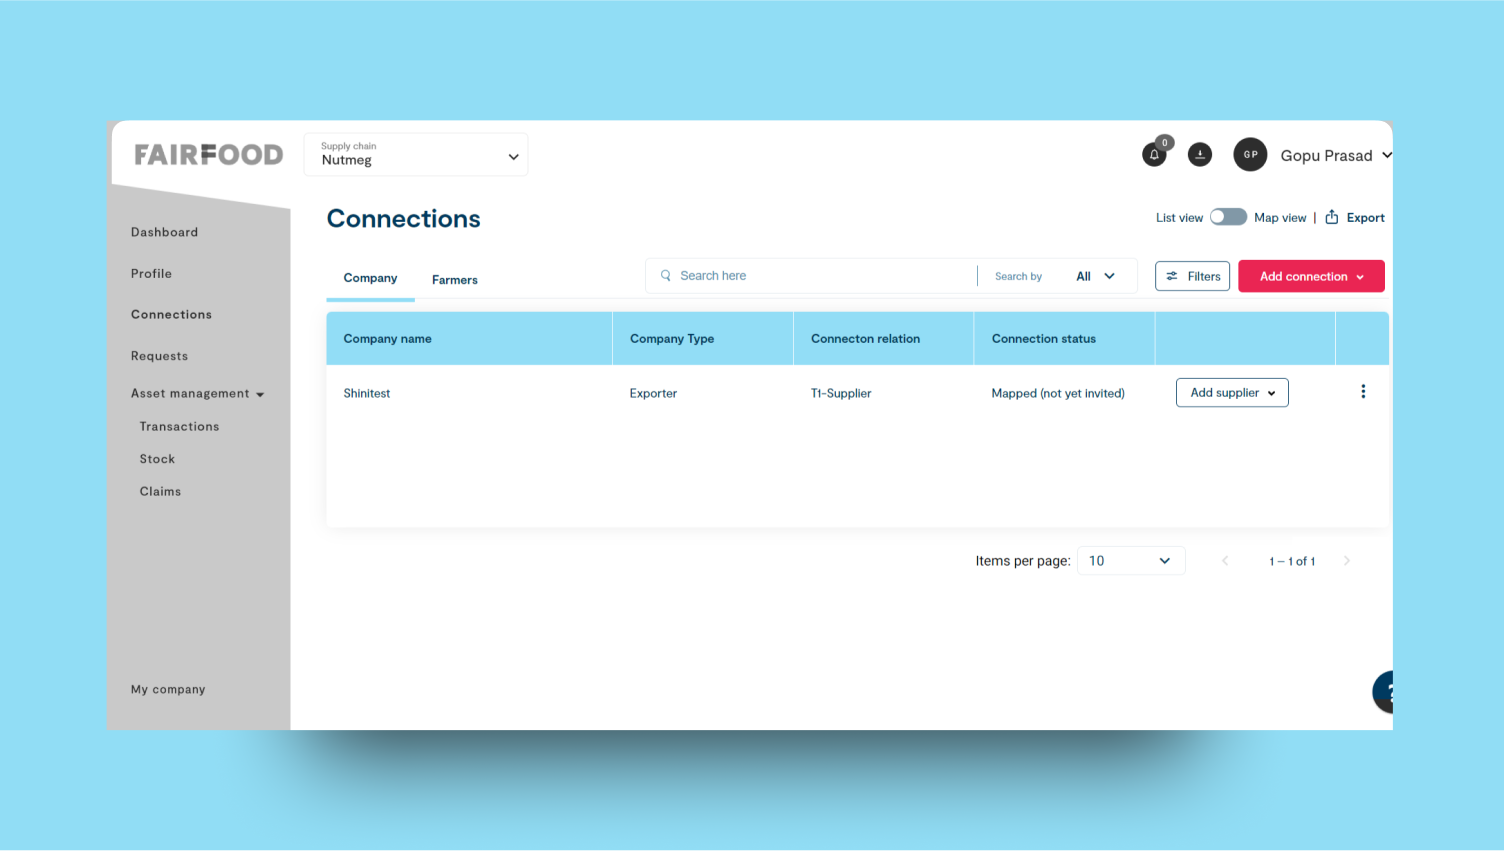
- The company connection list includes columns for Company Name, Company Type, Connection Relation, and Connection Status.
- The “Add Connection” button allows you to create new connections.
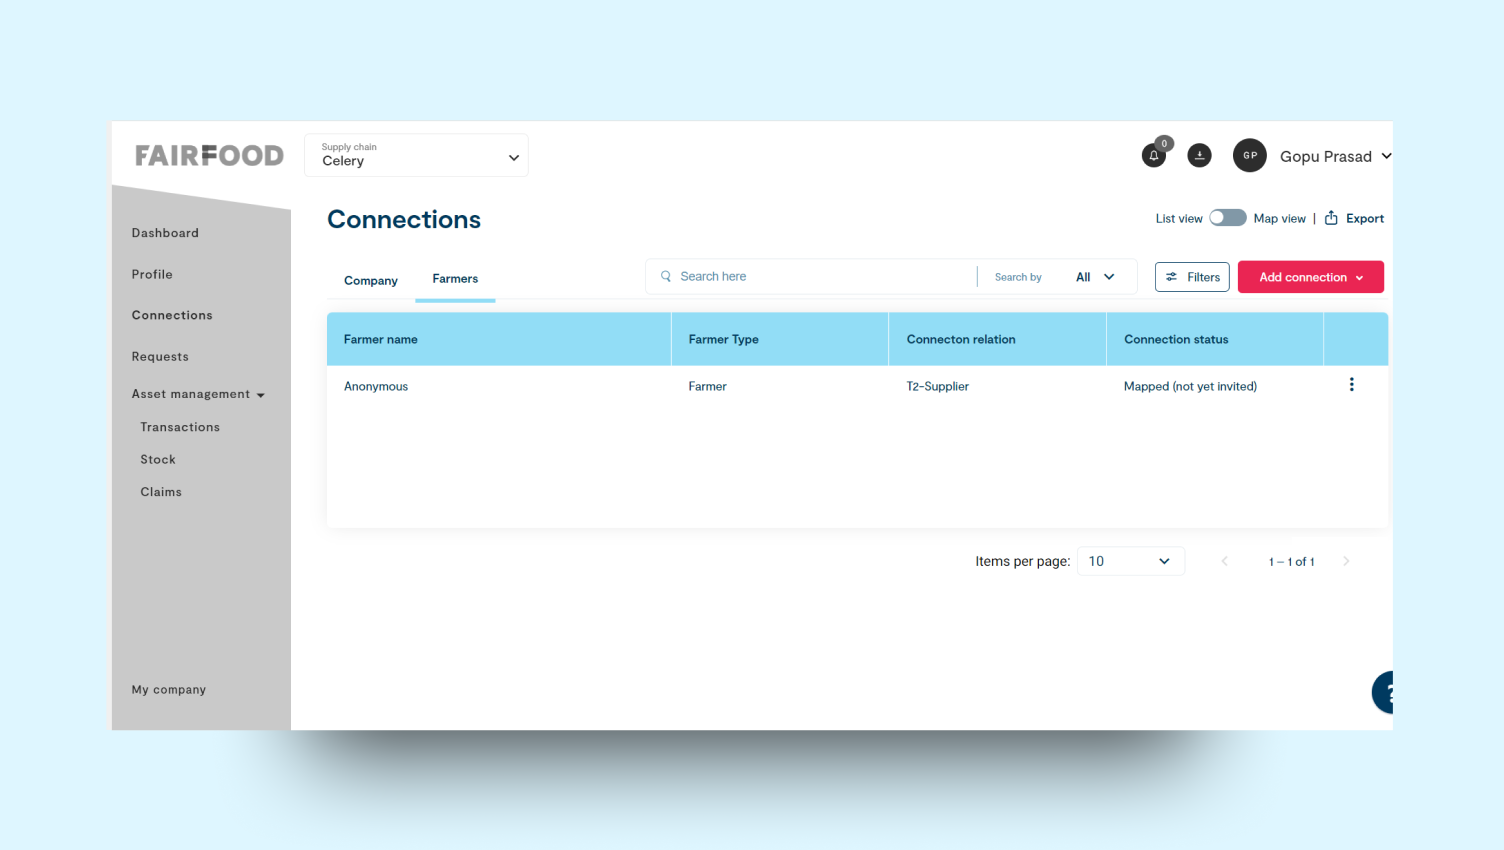
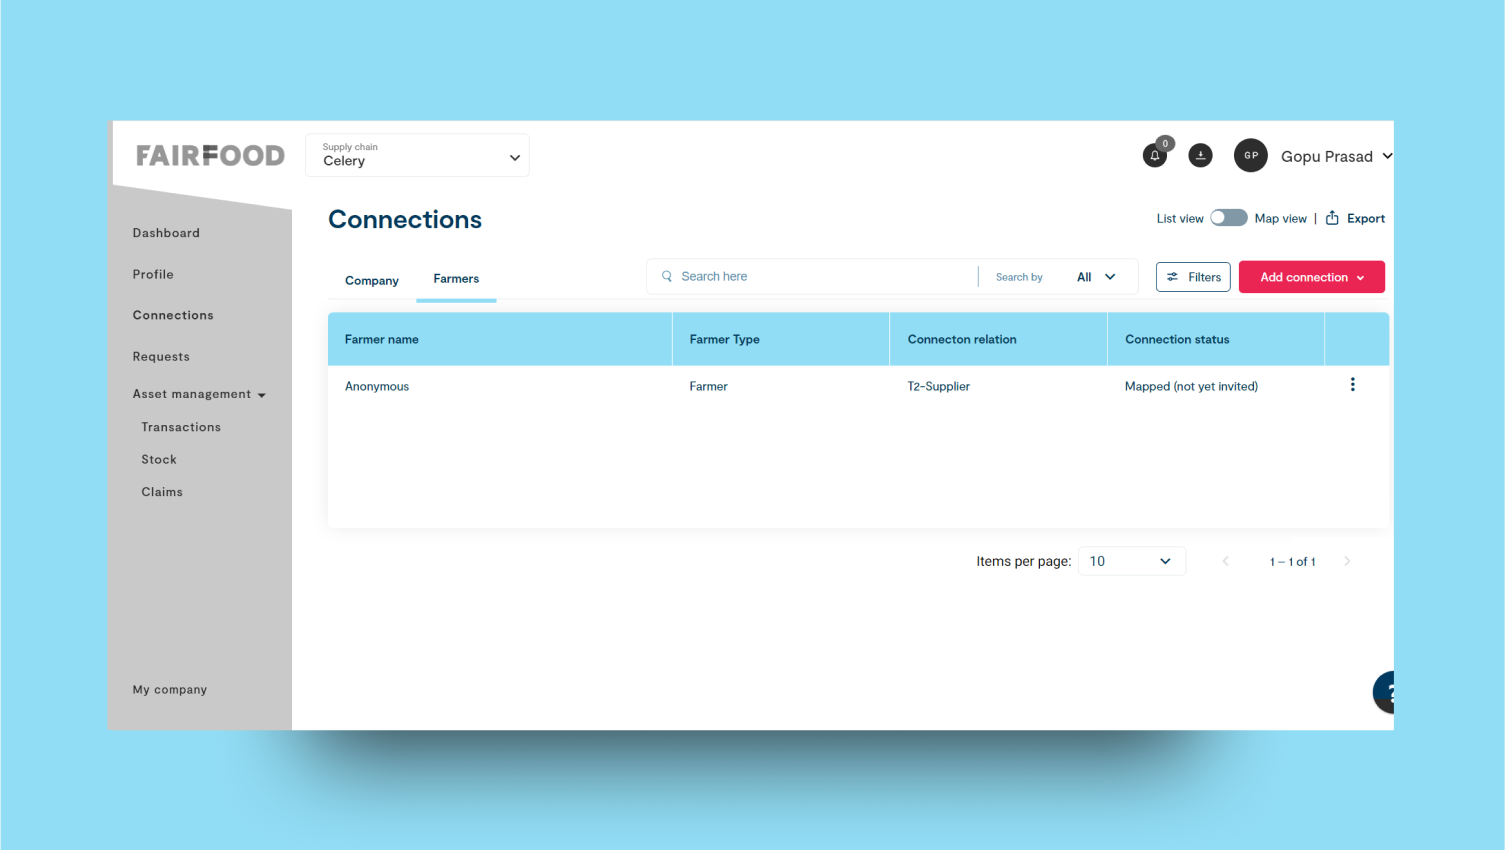
Connections - Farmers
- The connection list for farmers includes columns for Farmer Name, Farmer Type, Connection Relation, and Connection Status.
- This provides a comprehensive overview of the farmers’ network and connection details.
- The “Add Connection” button allows you to create new connections.
Connections - Map report
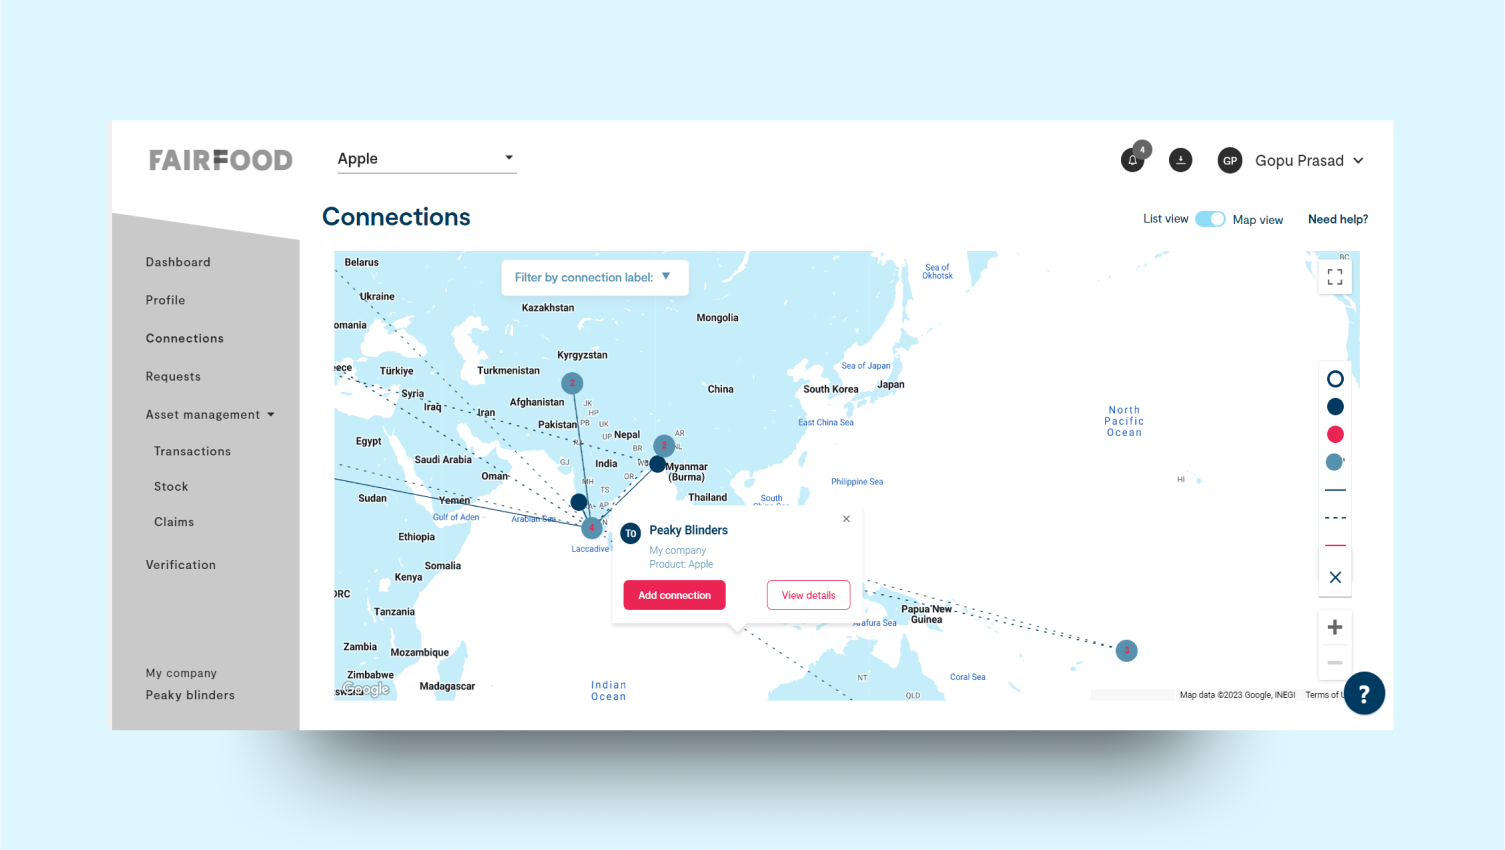
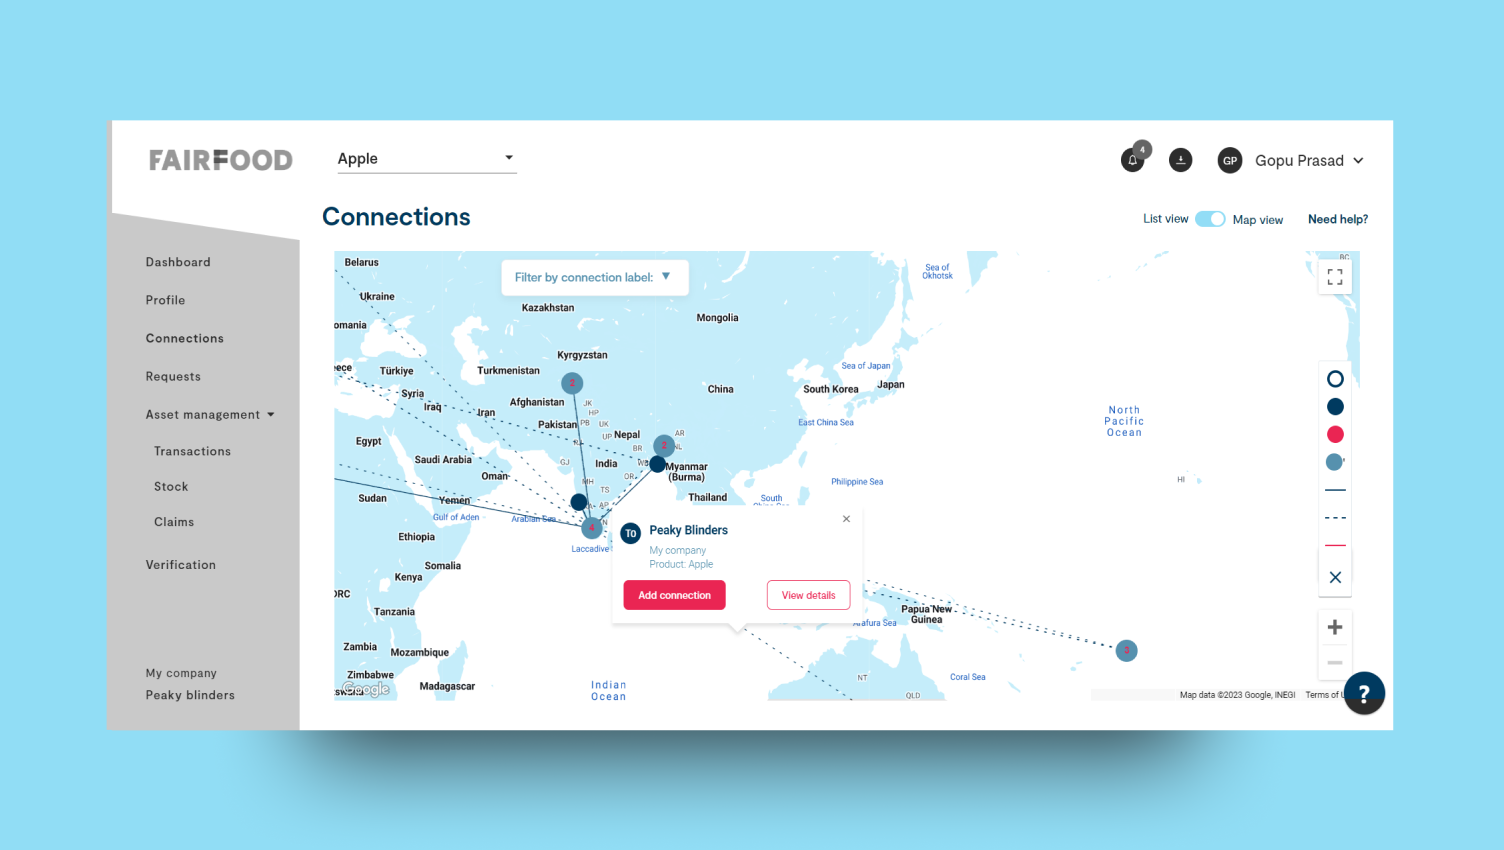
- The map view shows the connections on a map.
- It works by showing where farmers and companies are located and how they are connected.
- This helps you see the spread of connections and understand the supply chain.
Manage farmers
- You can add farmers to the system by uploading an Excel file with their details.
- This method makes it quicker to enter data, saving time and effort.
- It simplifies the process of adding new farmers to the system, making it easier to get started.
Add connection
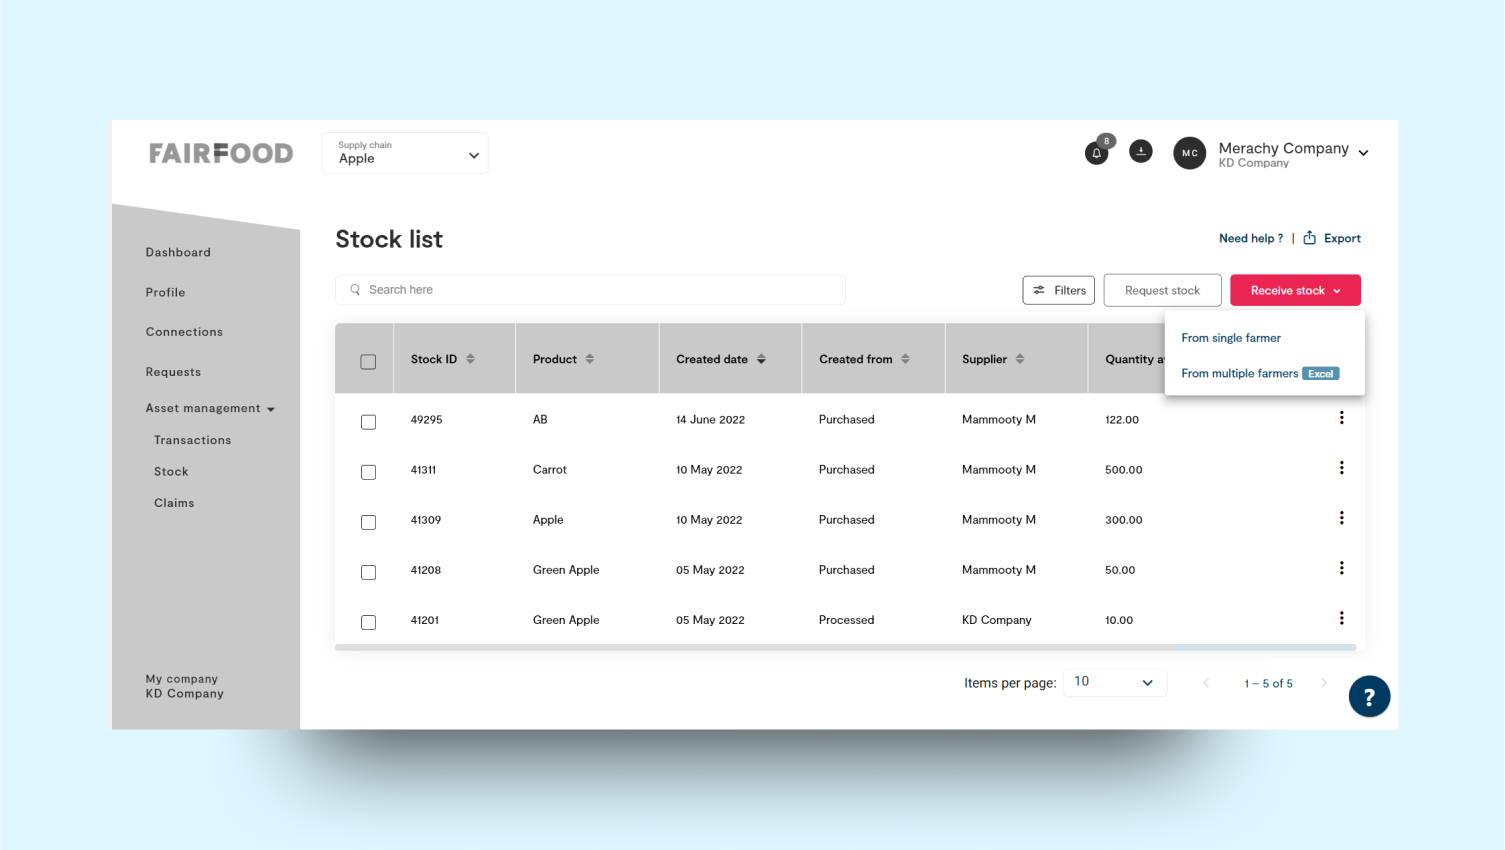
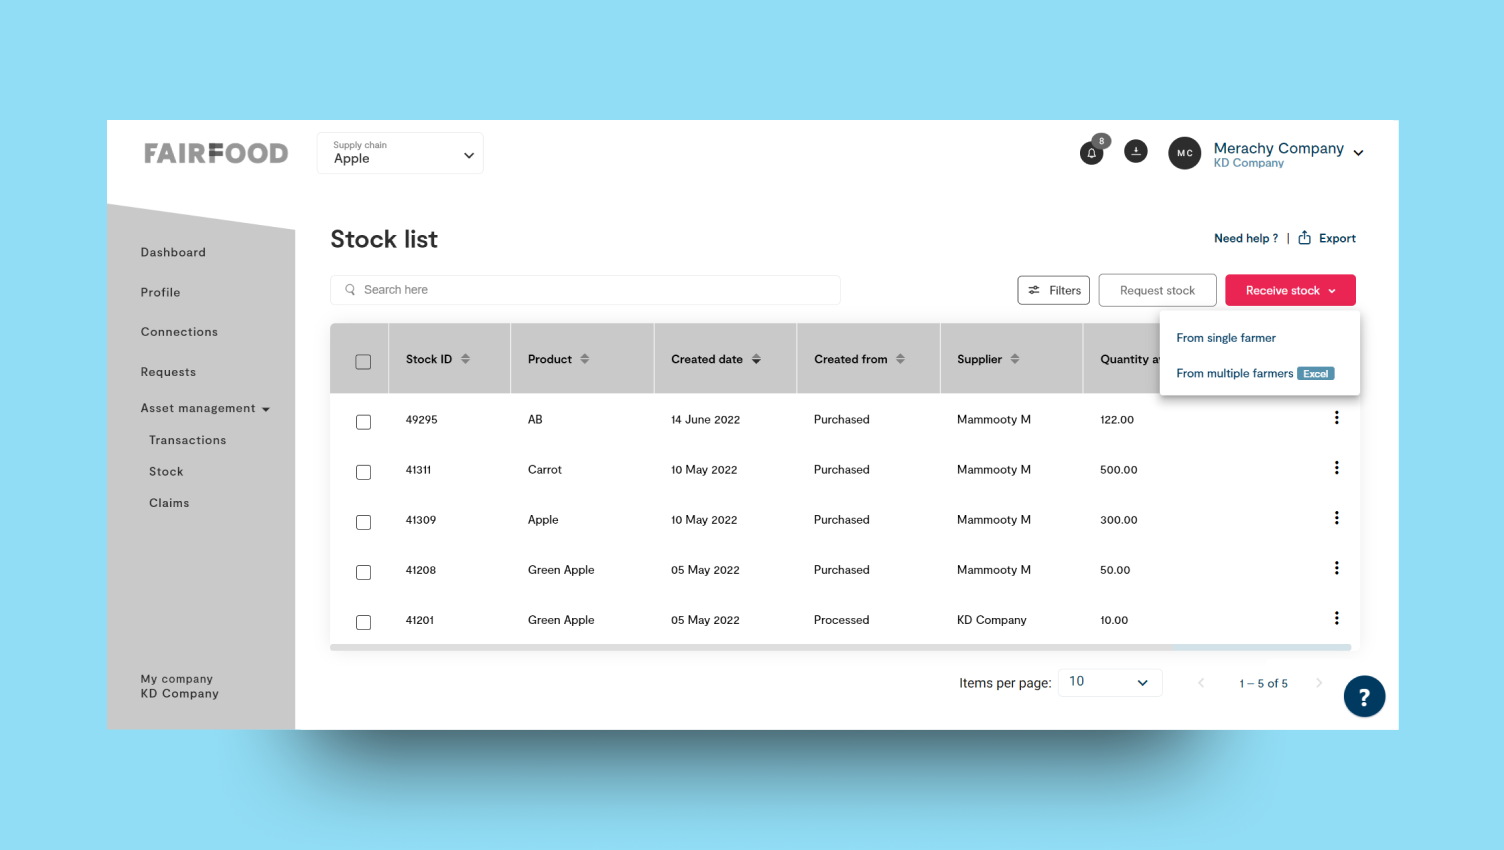
Single Farmer
Add a connection by providing Basic Details, including buyer information, and entering Address/Contact details. Finally, map the connection by linking the farmer to the company, either by adding a single farmer manually.Basic details
Address/Contact
Map Connection
 The third step, Map Connection, allows mapping the farmer to the company. This step establishes the connection by specifying that products purchased from a particular farmer or supplier are supplied to the corresponding company. After verifying the details, you can finalize the connection by clicking the Add Connection button.
Add connection
Multiple Farmers (Excel)
We can add multiple farmers to the system by uploading an Excel file. First, the system validates the uploaded file. Users have two options: they can download a preformatted Excel template from the system, add the data to it, and upload it, or directly upload an existing Excel file. The system then checks the file for mandatory fields and validates all values. After verifying and linking each row and column, the farmer data is successfully added to the system.Upload/Create Template
Link Fields
Verification
Verification ensures that the uploaded Excel file contains all mandatory fields, validates the accuracy of the data, and highlights any errors for correction before proceeding.Add connection as company
Basic details
Address/Contact
Map Connection
The third step, “Map Connection,” allows you to map a new company to your network. By clicking on “Invite Connection,” an invitation will be sent to the selected organization, inviting them to participate in your supply chain. This step helps establish a connection with the organization, enabling collaboration within the network.