- Connect Server Setup
- Server Configuations like creating Company, Product etc.
- Connect App Installed
- If not set up, follow this guide to 👉 Setup Server
- If connect app not installed, follow this guide to 👉 Install App
- Company Creation
- Product Creation
- Company Member Creation
- Company Product mapping
- Premium Creation(not mandatory)
- Form Creation(not mandatory)
Accessing the Admin Panel
- URL:
{root_url}/connect/admin/
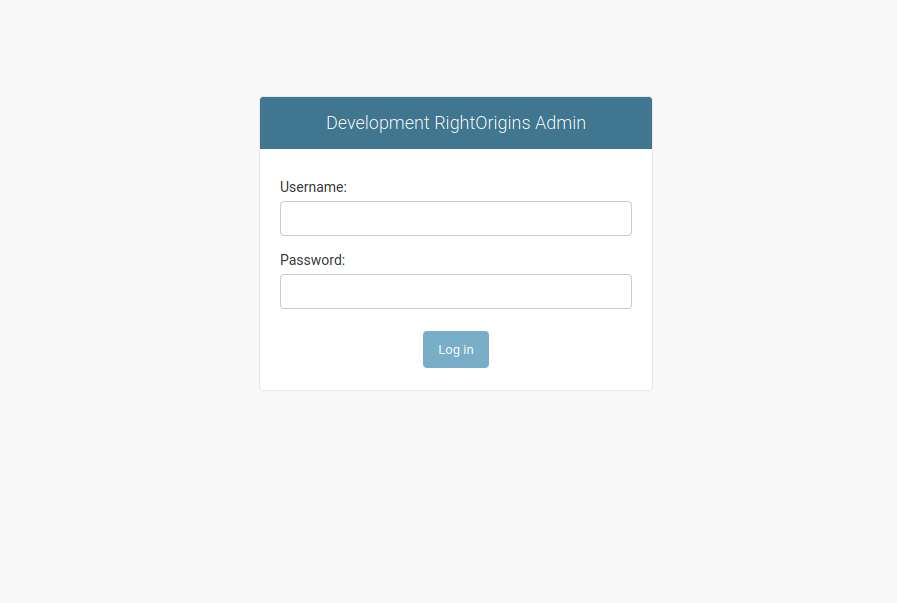
- Credentials: Found in
connect-infra/env/.django.env
The admin user is created during connect server setup by the credentials used in the env
1.Company Setup and Configuration
We can create a company from Django admin. The name, address and other configs are set up from the admin panel.- Buy Enabled: If selected the connect app will be having an option to buy the products.
- Sell Enabled: If selected the connect app will be having an option to sell the products.
- Only Connect: If selected the connect app will be a standalone app, the sync with Trace Application will not work. To Know more about Trace
- Allow Multiple Login: If selected the connect app will enables multiple device logins for the user
- Make Farmer Private: If selected the connect app will enable date of birth validation for the farmer passbook. The farmer passbook is a standalone Open API section where farmer details can be accessed using farmer card IDs. If the company to which the farmer belongs has Make Farmer Private enabled, users must provide the farmer’s date of birth to view the details.
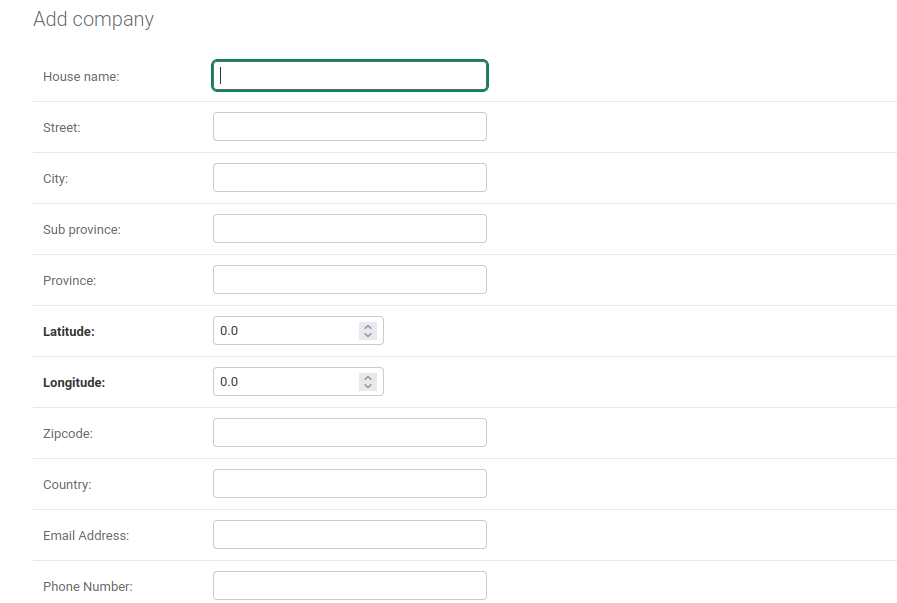
Create a Company
- Under Supply Chains, click Companies.
- On the Companies list page, click “Add Company”.
- Fill in all required fields
- Click Save to create the company.
- Is Default: Makes the buyer the default buyer of the company. While selling, this buyer will be selected as default.
2.User Creation and Assignment
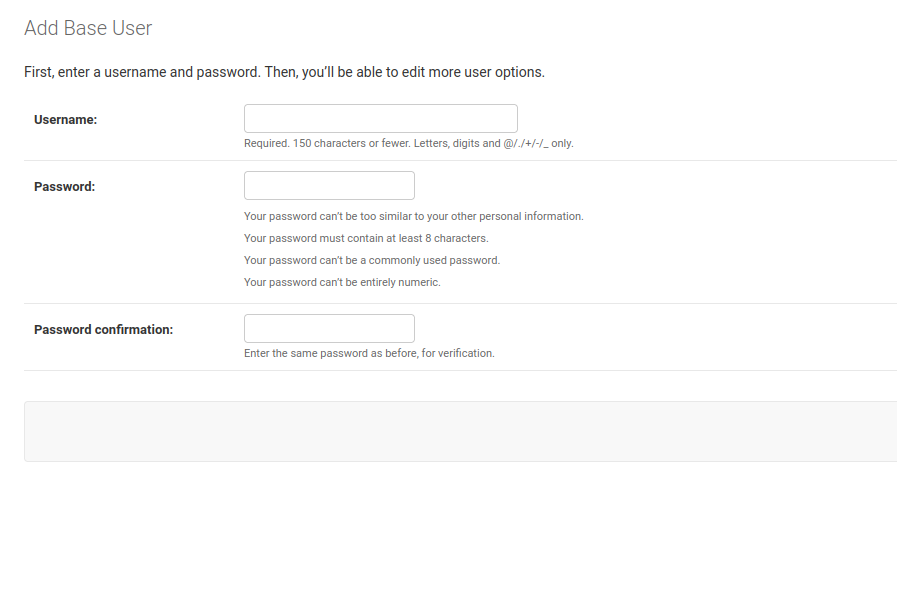
A user can be created in the Connect application from Django admin and later mapped to a company. This user can then be assigned various roles and permissions to perform different operations within the connect application.Create a User
- Navigate to Accounts → Base User
- Click “Add Base User”.
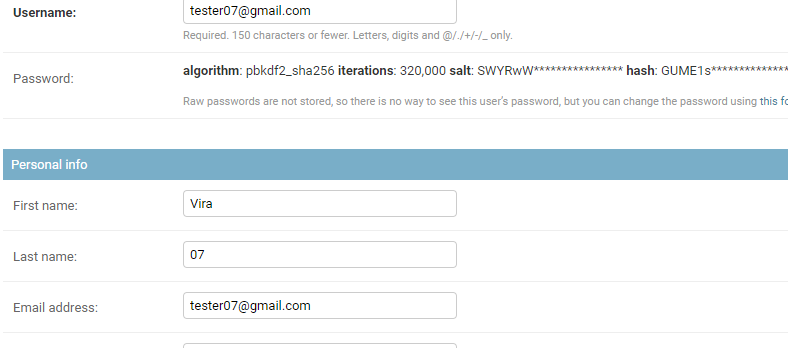
- Fill in the fields and save.
- Now, fill other fields and save.
Map User to Company
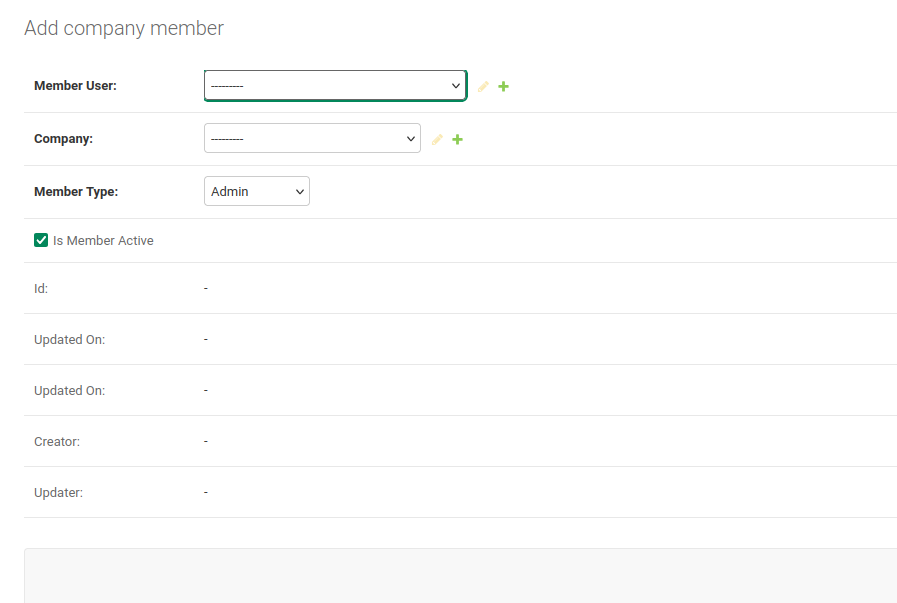
- Navigate to Supply-Chains → Company Members
- Click “Add Company Member”.
- Select the user, company and user type accordingly
- Save the mapping.
3.Product Management
In order to conduct transactions, there must be products associated with the company. Products are also created through the Django admin panel. Once created, products must be mapped to a company.Add a Product
A product can be created in the Connect application and later mapped to a company. This product can them be used to perform different operations within the system.- Navigate to Catalogs → Product
- Click “Add Product”.
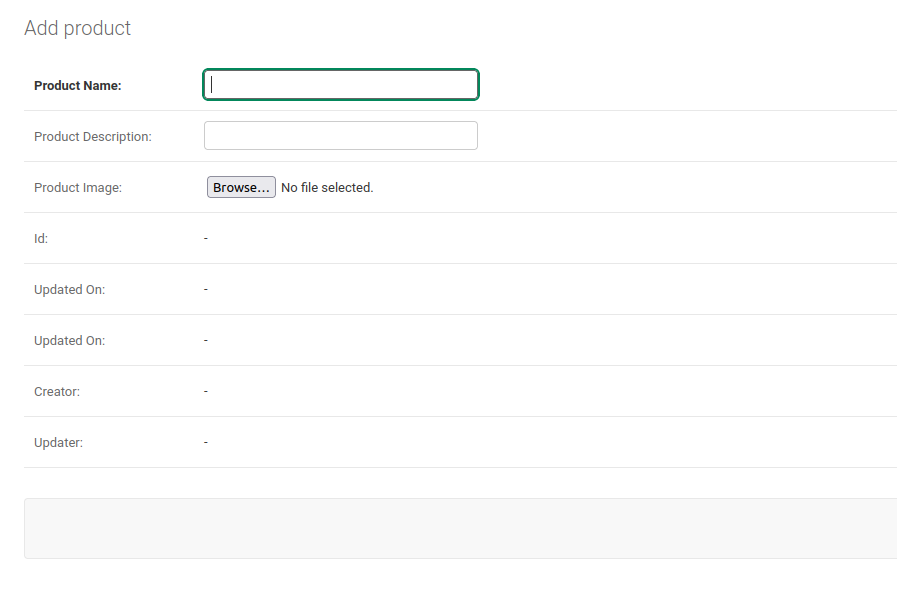
- Fill in the detials and save
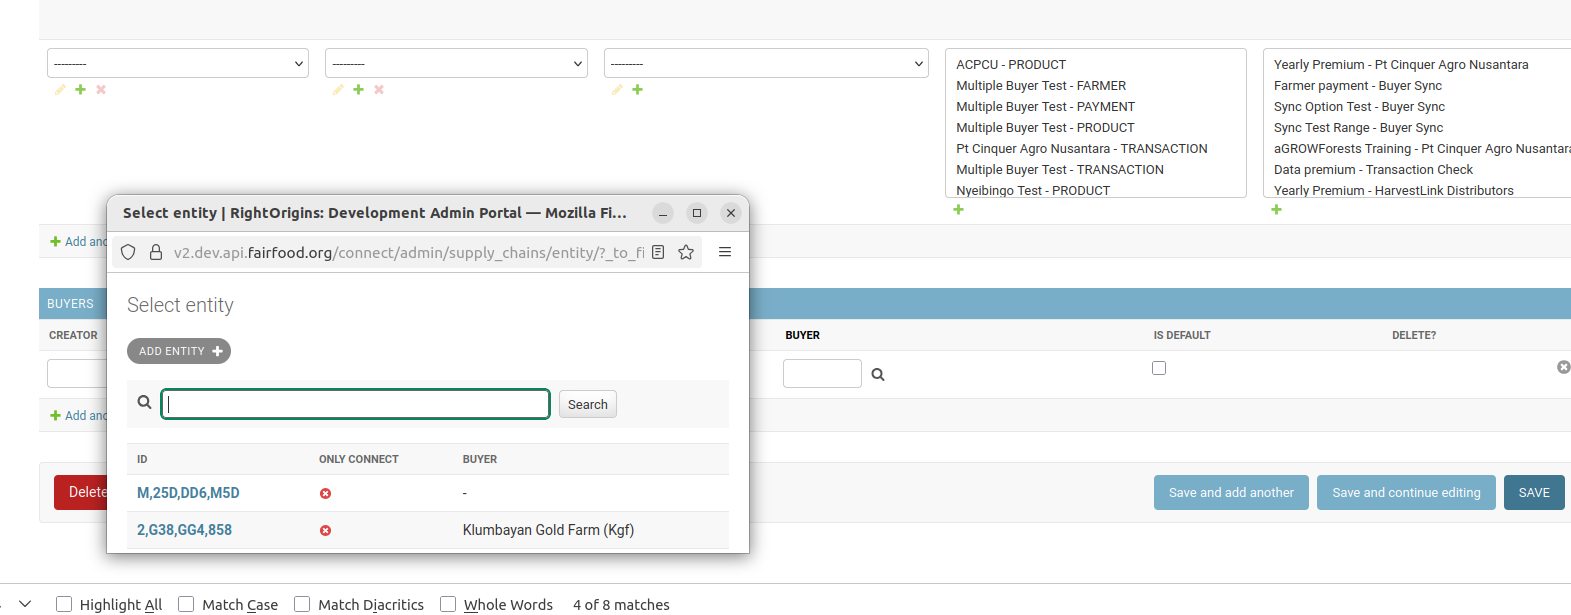
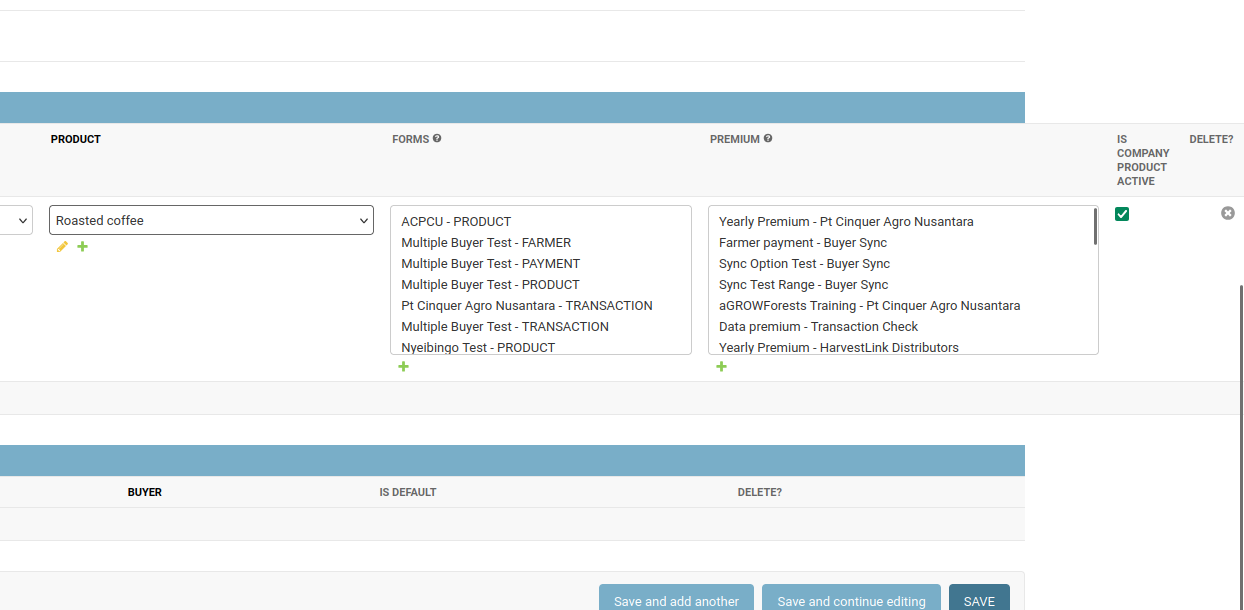
Add a Product to Company
- Navigate to Supply-Chains → Companies
- Select the company which you want to edit.
- Click on Add company product and select the product
- Save changes.
- In order to hide product deselect “Is Company Product Active” to make the product invisible in the App.
4.Premium Management
Premiums are additional charges applied to transactions. If the premium type is selected as ‘per transaction’ the premium is applied for transaction once, regardless of the quantity. Below are some of the fields to configure the Premiums. They are dropdowns and only one can be selected per field.- Premium Type
Per Transaction: If chosen the premium is applied once for each transaction, regardless of the quantity involved.Per KG: If chosen the premium is calculated based on the weight of the product in kilograms.Per Unit Currency: If chosen the premium is calculated as percentage or fixed amount relative to the total value of the transaction (based on the currency).Per Farmer: If chosen the premium is applied once for each farmer involved, regardless of how much they produce.
- Applicable Activity
Buy: Enabling this make sures that the premium will be used only for buyingSell: Enabling this make sures that the premium will be used only for selling
- Premium Category
Transaction Premium: If selected the premium will be used only for transaction.Payout Premium: If selected, a new option ‘Pay’ will be enabled along with buy and sell. This option allows to pay farmers from application.
- Calculation Type
Normal: Used for product premiums only. ie, this premium will only work if the premium is mapped with the product. The premium amount will be applied according to the amount set in the premium.Manual: If selected the premium can be entered manually in the appOptions (Dropdown): If selected, the app will show predefined options to select premium. The option name and amount can be added from ‘add premium option’.Ranges: If selected, the app will only accept according to this range specified. The range from, range to and amount can be added from ‘add premium range’.
Add a Premium
- Navigate to Catalogs → Premiums
- Click “Add Premium”.
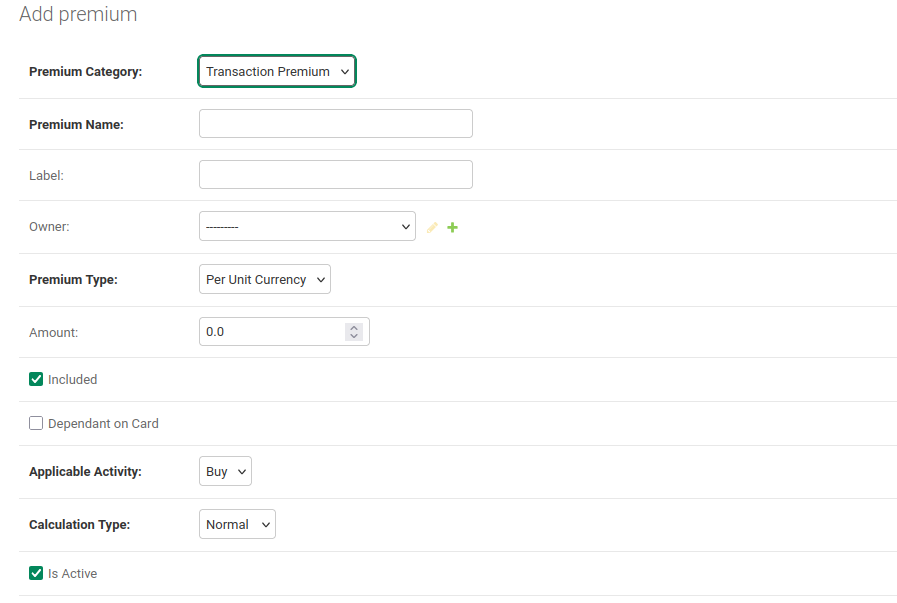
- Fill in the fields and save.
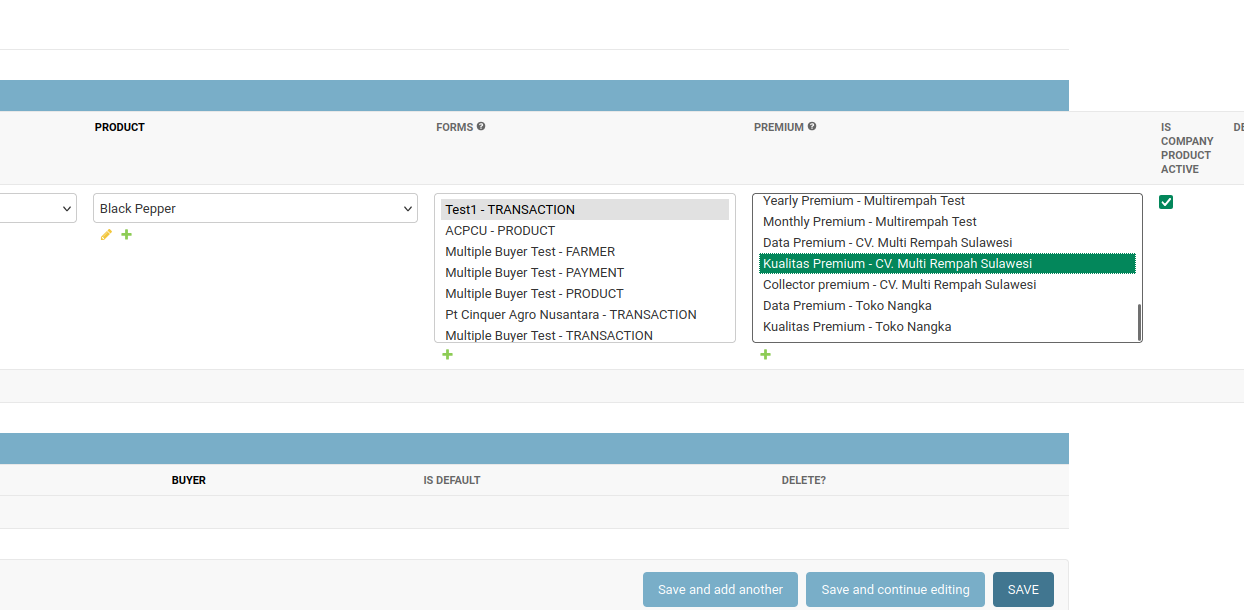
Add product premium
- Navigate to Supply-Chains → Companies
- Add or edit the relevant Company Product.
- Add or map Premiums (e.g., Kualitas Premium mapped with Black Pepper).
- Save changes.
5.Dynamic Forms and Field Configuration
If we need to add any field other than inbuilt fields we can add them from Django Admin. Like if we need any extra field while doing transactions we will create a form with form type ‘transaction’ which enables the extra fields in the form. In order to reflect instantly in the app run ‘Hot Fix’ from settings. ie, we need to add custom transaction date we create a form with form field label as ‘Transaction Date’, field type as ‘Date’ and key as ‘transaction_date’ Form Type- Transactions - add extra fields while doing transaction in connect application
- Payments - add extra fields while making payments in connect application
- Farmer - add extra fields while registering farmer in connect application
- Products - add extra fields while creating product in connect application.
Add Custom Forms
- Navigate to Forms → Forms
- Click “Add Form”.
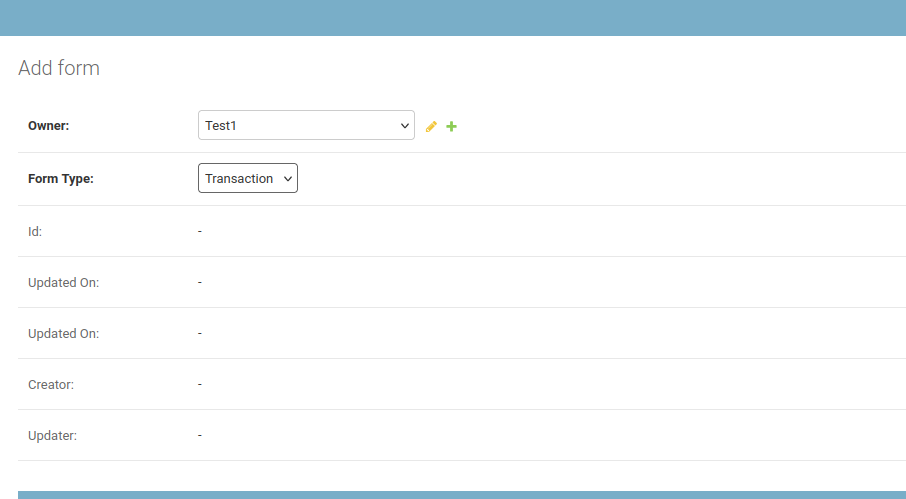
- Add Form Fields (types, dropdowns, etc.)
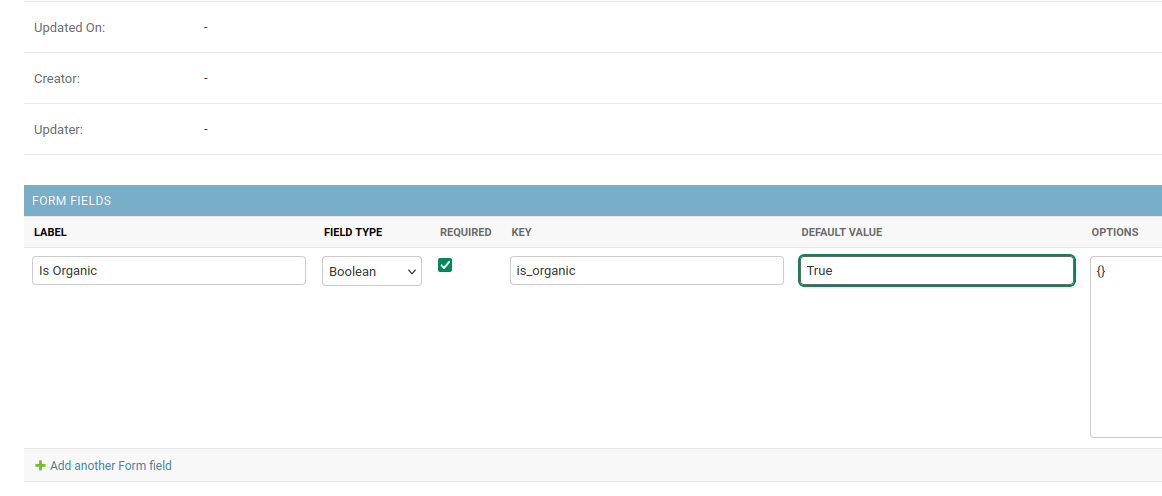
- Optionally configure Form Field Configs to control frontend visibility and behavior.
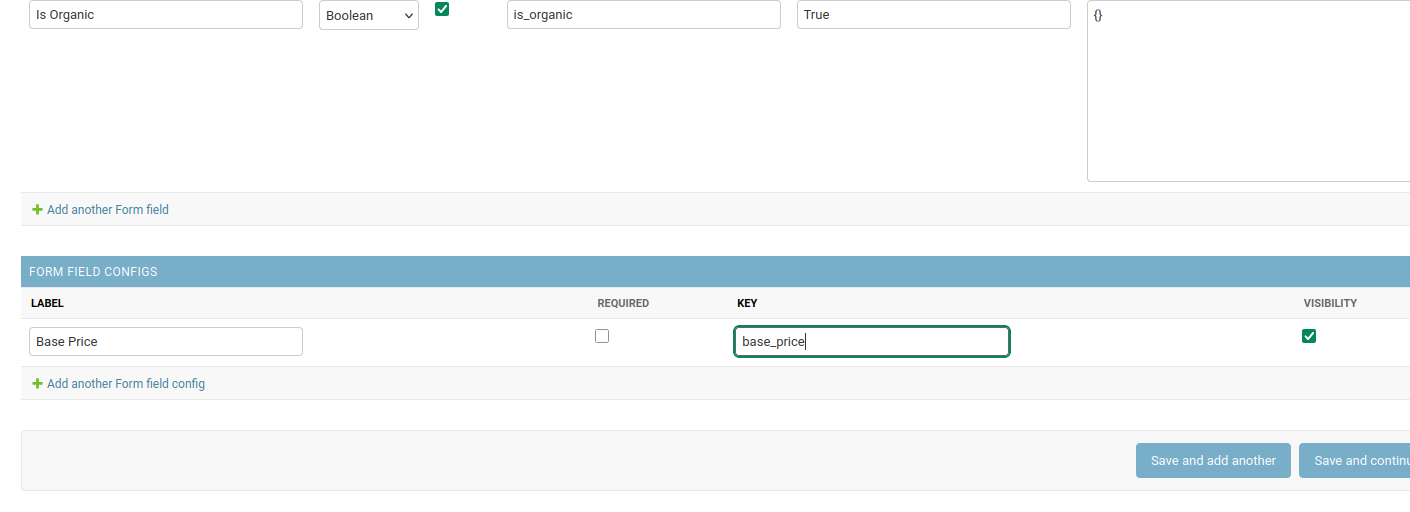
- Save the form.
💰 Transactions Interface
All transactions involving buying or selling are recorded and visible under the Transactions tab in the application. Users can view the transaction history, but it is important to note that the mobile app only shows transactions that were synced since the last successful synchronization. This helps reduce app load time and ensures better offline usability. The full set of transaction records is available in the Connect Web Application, which is designed for more comprehensive data review and administration. Users can also:- Filter transactions based on various parameters
- Export the data to CSV
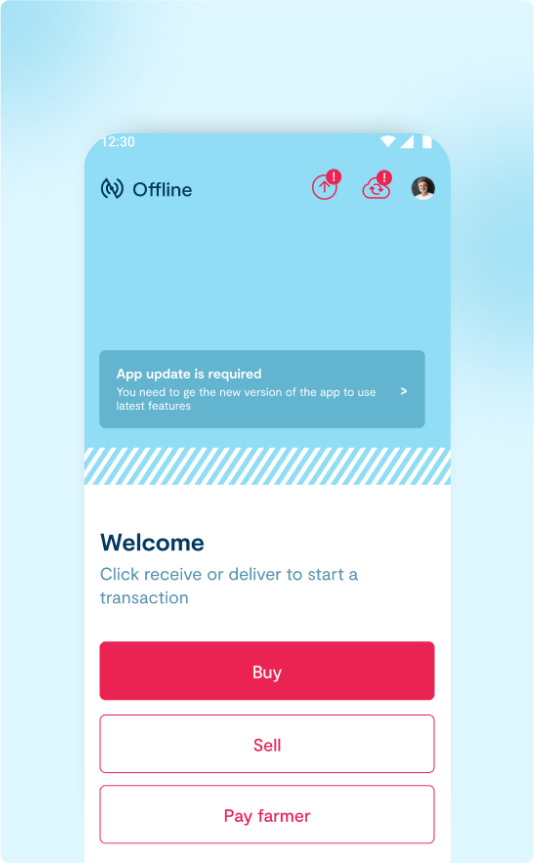
🔄 Synchronization and Offline Mode
The application is designed to function both online and offline, which is critical in rural or low-connectivity environments. When working offline, any transaction that is performed is stored locally on the device. Once an internet connection becomes available, the system automatically attempts to sync these records with the database. There are two key options provided for manual synchronization:- Sync: This option appears in the top-right corner of the app and can be used to manually push pending data to the server if automatic syncing fails.
- Hot Sync: This is a more advanced sync feature used to reset listing and reference data in the mobile app from the database. It does not delete any database data. It is especially useful if there are inconsistencies or issues in the mobile data and a fresh pull from the server is required.
👤 Profile and User Preferences
Under the Profile tab, users can update their own personal information. In addition to personal details, users can customize how the app behaves and displays data. Settings available include:- Changing the application language
- Adjusting number formats (e.g., decimal separators, digit grouping)
- Enabling or disabling transaction announcements (e.g., audio or on-screen prompts)